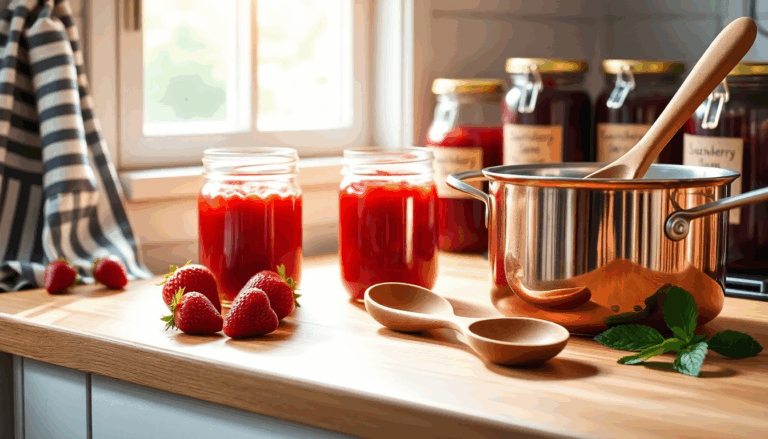
Imagine waking up to the sweet aroma of fresh strawberry jam wafting through your kitchen. There’s something magical about the simplicity of homemade jam that can turn an ordinary breakfast into a special occasion. I fondly remember the mornings spent in my grandmother’s garden, picking ripe strawberries under the
warm sun. Each plump berry sparkled like a tiny ruby, and the joy of turning them into jam is a cherished memory. Today, I’ll guide you through the process of making your very own strawberry jam, perfect for spreading on toast or using in delightful desserts.
Choosing the right strawberries
The foundation of any great jam is, of course, the strawberries. Opt for ripe, firm berries that boast a vibrant red hue.
It’s essential to check for any bruises or blemishes. If you have a trusted local vendor, that’s often the best source. Quality fruit is paramount to achieving a jam that impresses your taste buds and preserves the essence of summer.
Ingredients and proportions
When it comes to making jam, the standard sugar-to-fruit ratio is typically 50%. This means for every pound of strawberries, you’ll want a pound of sugar. Yes, you read that right!
While some may prefer less sugar for a more natural flavor, remember that sugar also plays a crucial role in preservation. If your strawberries are particularly sweet, feel free to adjust the sugar down a notch – the key is to balance the natural sweetness of the fruit.
Step-by-step preparation
Making strawberry jam requires a bit of time and patience, but the end result is worth every minute. Start by washing your strawberries and removing the stems. Next, chop them into small pieces and place them in a pot. Add the measured sugar and let the mixture sit for about 30 minutes to allow the juices to flow. Then, over medium heat, bring the mixture to a gentle boil while stirring continuously. Skim off any foam that forms on the surface. Once it reaches the desired consistency – usually after about 20 minutes of boiling – your jam is ready to be jarred.
Storing your homemade jam
Once you’ve filled your sterilized jars with the warm jam, seal them tightly. If stored in a cool, dark place, your homemade strawberry jam should last for about six months. However, if you’ve reduced the sugar content, be mindful that the shelf life may be shorter. Once opened, keep your jam in the refrigerator and consume it within four to five days.
The versatility of strawberry jam
Strawberry jam isn’t just for toast; it’s a versatile ingredient that can elevate a variety of dishes. Use it as a filling for cakes, tarts, or even as a topping for pancakes. I still remember a lovely summer picnic where I brought along a strawberry tart that had everyone asking for the recipe. It’s amazing how a simple jar of jam can create such delightful memories!
Tips for proper canning
If you’re curious about canning your jam for long-term storage, there are a few tips to keep in mind. Ensure your jars are sterilized by boiling them or placing them in the oven. This step is crucial for optimal preservation. When sealing the jars, do so while the jam is still hot to create a vacuum seal. It sounds complicated, but it’s quite straightforward with just a little attention to detail.
By making your own strawberry jam, you can savor the sweetness of summer throughout the colder months. Who knows? This year, you might even be inspired to experiment with other fruits like peaches or apricots. The possibilities are endless!

